Deposit Transactions
Manage Deposit Transactions
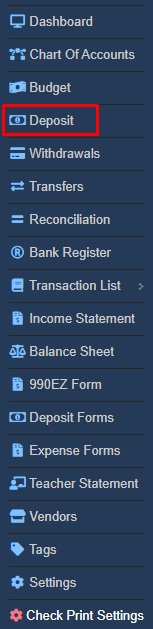
Navigate to the Finance section and click on “Deposit” to add or update or view deposit transactions.
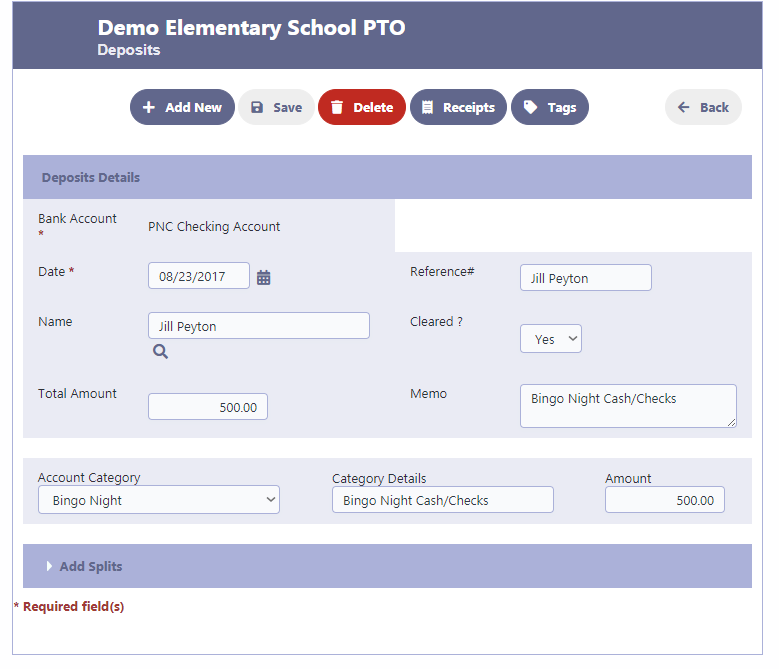
Adding Deposit Transactions
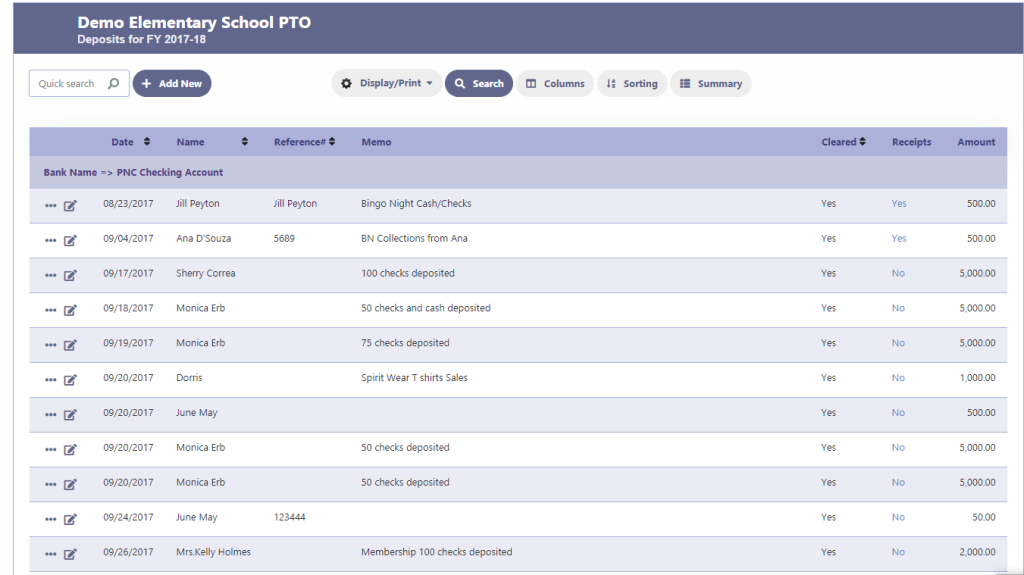
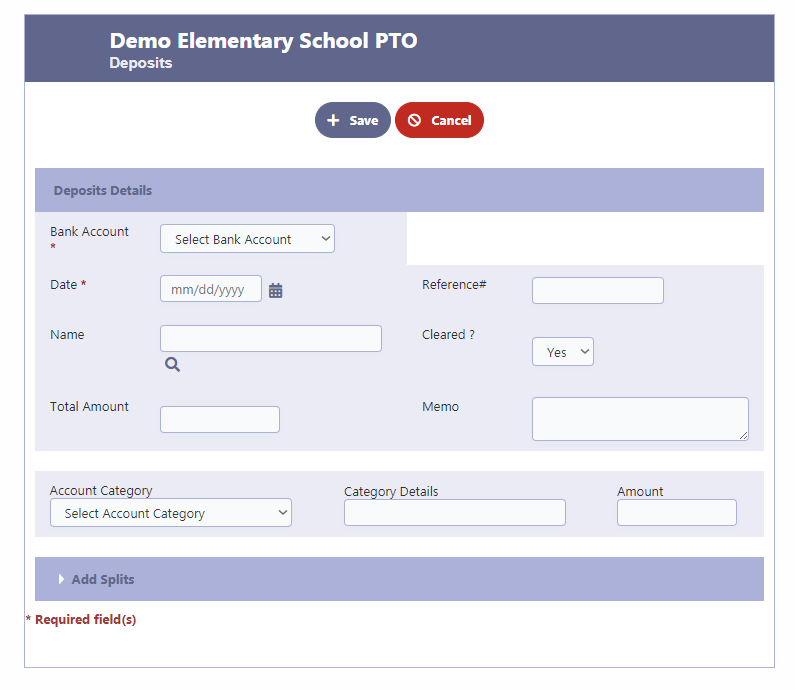
- Click on Add New to enter a new Deposit
- Choose the Bank Account for the transaction
- Specify the Date of the transaction
- Enter the Reference# if applicable
- Enter or select the name of the person or organization from whom the deposit amount is received.
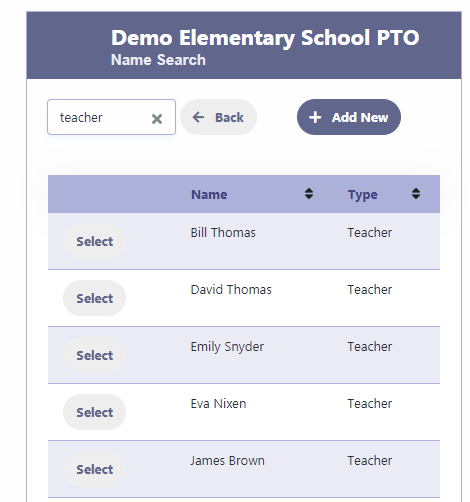
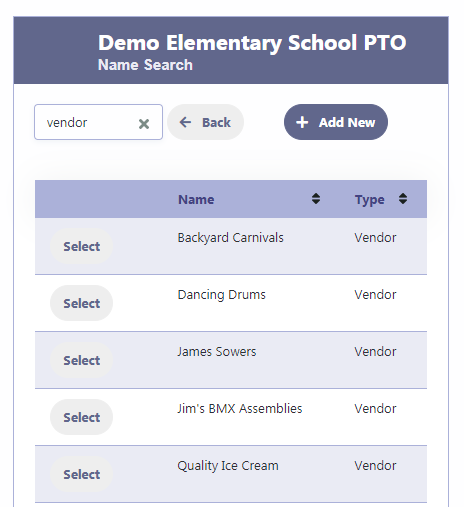
- Click on the magnifying glass to choose the Name from various lists like Teachers, Vendors etc
- Indicate whether the payment was cleared or not by entering Yes or No. Bank Reconciliation will only consider cleared amounts for reconciliation.
- Enter the Total Amount of the deposit transaction.
- Provide a Memo for the deposit transaction.
- Enter the Account Category along with any specific details for that category and its corresponding Amount.
- If the deposit transaction applies to multiple categories, repeat the previous step by clicking on Add Splits.
- Ensure that the Total Amount matches the Category Totals.
- Click on Save to save the deposit transaction.
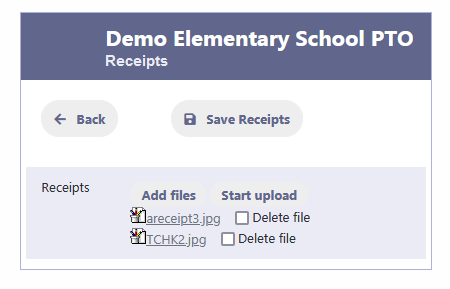
Add Receipts to the Transaction
To attach receipts to a transaction, simply click on the “Receipts” button after the transaction is saved. The process to add receipts involves clicking on “Add Files“, and then clicking on “Start Upload“. Once the receipts are uploaded, click on “Save Receipts” to finalize the attachment. If there is a need to delete a receipt, just check the “Delete File” checkbox and then click on “Save Receipts” to remove it from the transaction.
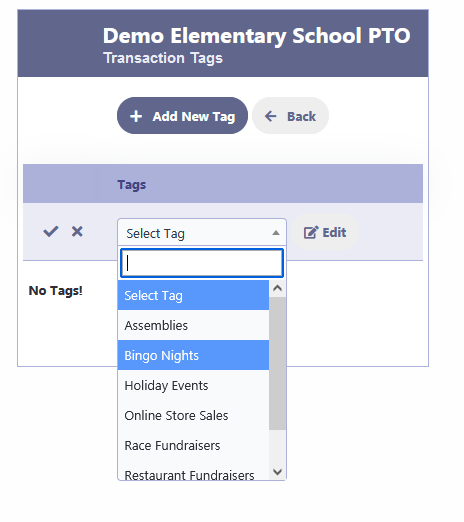
Add Tags to the Transaction
Tags provide a customizable system for categorizing and grouping transactions based on specific criteria . This enables organizations to generate insightful reports, monitor budget allocations, and gain a comprehensive overview of their financial activities. Moreover, tags simplify the process of searching for specific transactions, facilitating quick retrieval and reducing the time spent on manual data entry and analysis.
To add a tag to a transaction, simply click on the “Add New Tag” button. This will allow you to select from a list of tags that have been added using the Tags module in Finance

Magnifying Glass – Select Lists
The magnifying glass icon allows you to access the list of chairs, teachers, vendors, and other contacts. You can add new custom contact lists by clicking on Add New. These contact lists enable you to generate transaction reports specific to each contact.
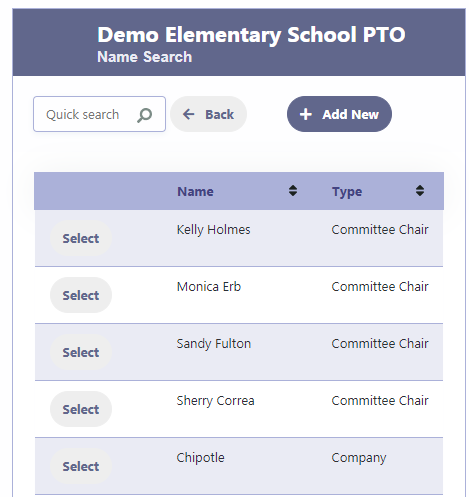
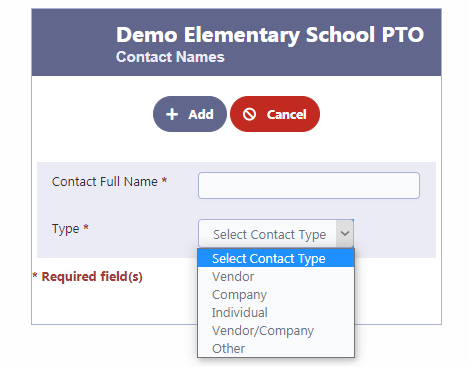
Click on Add New to create custom contact lists that can be used in transactions. This allows you to have personalized contact lists for different purposes and streamline your transaction processes.
Summary & Graphs
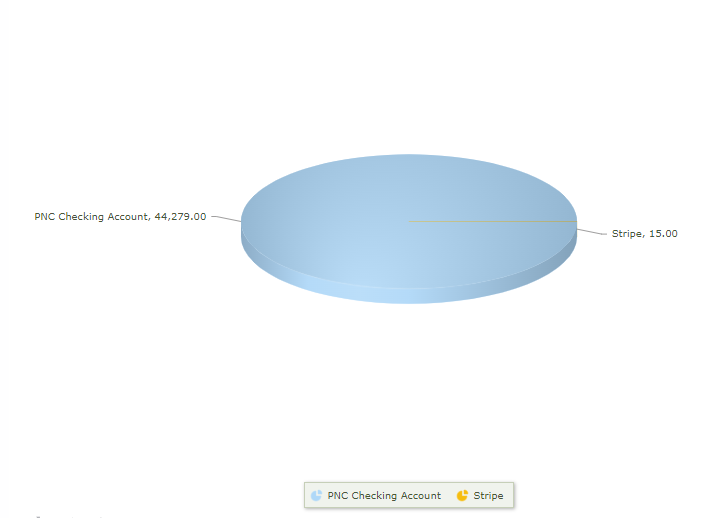
Click on Summary to get a summarized overview of your deposit transactions, providing you with a quick and concise view of your financial data.
By clicking on the chart icon, you can access a graphical representation of your Bank deposits, allowing for visual analysis and insights into your financial trends.