Import Calendar Data
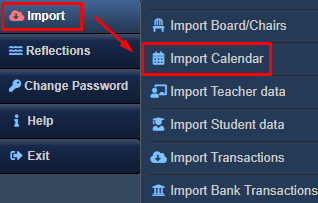
Import Calendar
The “Import Calendar” feature allows you to upload data from external sources using a CSV file. This functionality enables you to import event details such as the title, description, start date, end date, start time, and end time.
By utilizing the CSV file format, you can conveniently transfer event information from other systems or applications into the calendar. The system will extract the specified details from the CSV file and import them into the calendar, ensuring that all relevant information is accurately represented.
CSV File Format

Please upload the CSV file containing the records in the following format:
The first row in the CSV file should serve as the header with the following column values:
Column 1: Title
Column 2: Description
Column 3: Start Date
Column 4: End Date
Column 5: Start Time
Column 6: End Time
Column 7: URL Link
Column 8: Color
The subsequent rows should contain the corresponding values for each calendar event.
Here is an example:
Column 1: Halloween Parades
Column 2: School Grounds
Column 3: 10/31/2023
Column 4: 10/31/2023
Column 5: 10:30
Column 6: 11:30
Steps to Import Calendar Data
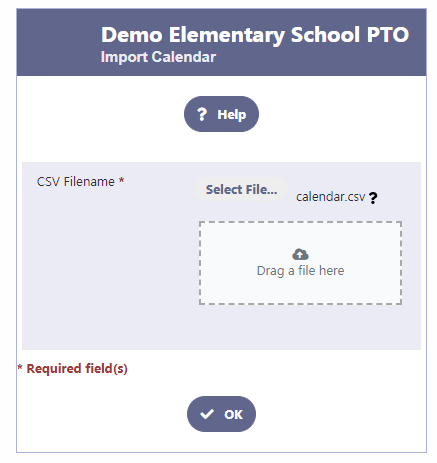
Step 1
To select the CSV file containing the calendar data from your desktop, follow these steps:
- Click on the “Select File” button.
- Locate the CSV file on your desktop using the file explorer window that appears.
- Select the desired CSV file by clicking on it.
- Once the file is selected, click on the “OK” or “Open” button to proceed.
Step 2
- Once you have selected the CSV file, you will be presented with a grid displaying the data from the file.
- If any changes or deletions are necessary, you can click on the respective edit or delete icons for each entry in the grid. This will allow you to modify or remove any incorrect or unwanted information.
- After reviewing and making any required adjustments, and ensuring that everything looks correct, click on the “Import” button to initiate the import process.
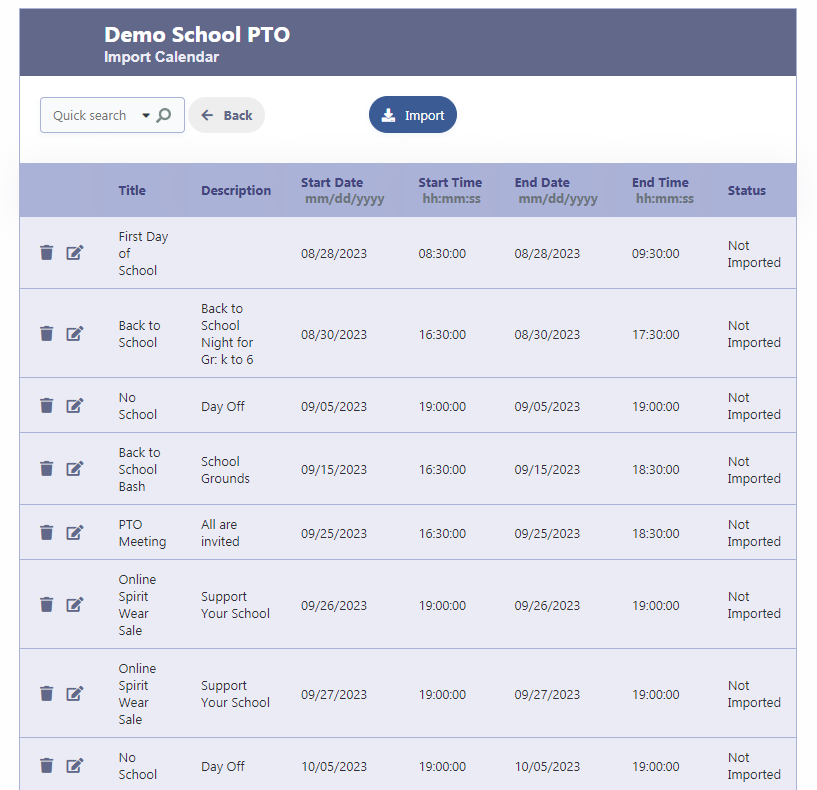
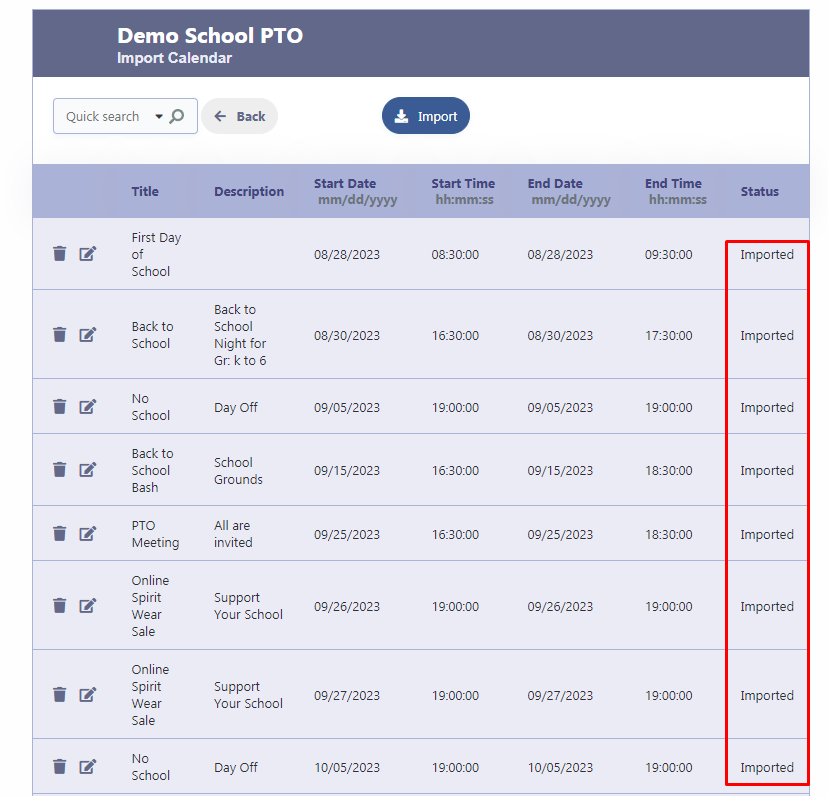
Step 3
Upon clicking the “Import” button, the Calendar data will be imported into the Calendar database. The system will process the data and update the corresponding rows in the grid with a status indicating that they have been successfully imported. The status on each row will be changed to “Imported.” This confirms that the Calendar data has been successfully integrated into the system.
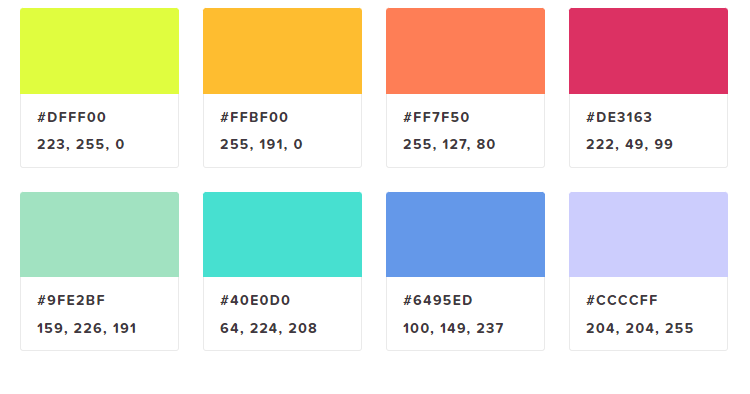
Color Codes
You can obtain hex codes for various colors from the following website: https://htmlcolorcodes.com