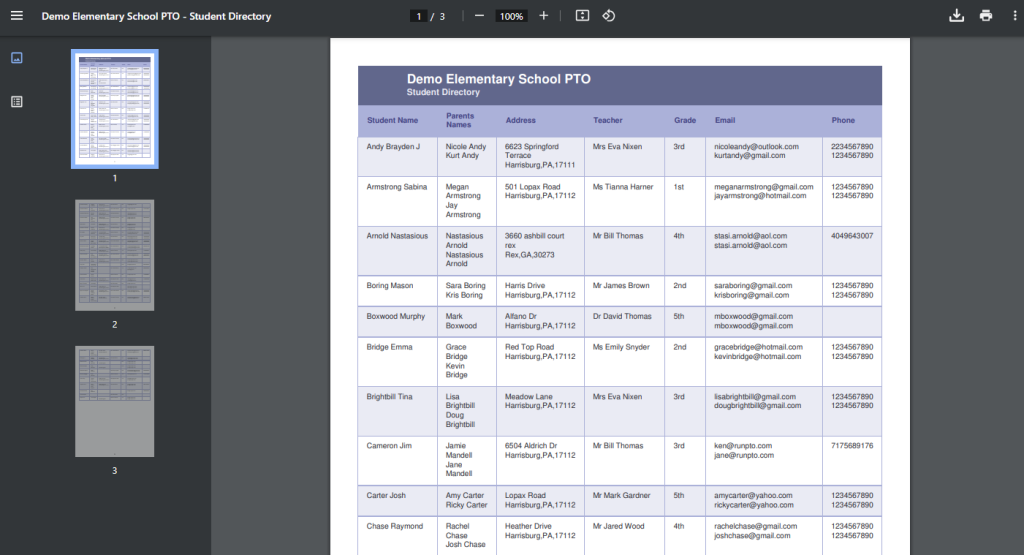
Student Directory
Creating Student Directory
The Student Directory feature provides multiple options for adding data. You can manually enter the data, collect it online through student registration, or import it using a CSV file. If you choose to collect data online, you can use the New Student Directory Registration feature, which allows you to send a URL link, embed it on the website, or use QR code scanning. It’s important to note that the Student Directory is password protected, and parents are required to create a parent account with a verified email to access it.
Creating the Teacher/Staff Directory
To begin, the initial step involves setting up the Teacher/Staff by providing their relevant information, such as grade and other details.

Adding Student Data Manually
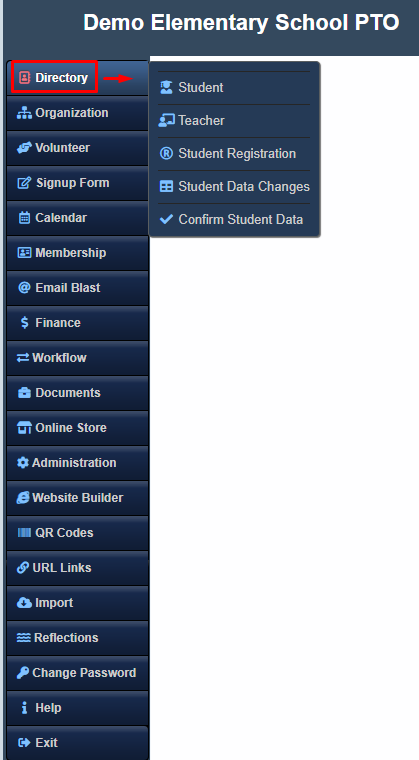
The next step is to navigate to the Student Directory and commence entering the data by selecting “Add New.” In cases where there are multiple students within a family, click on “Add Family” to include all relevant information.
Adding or Modifying Student Records
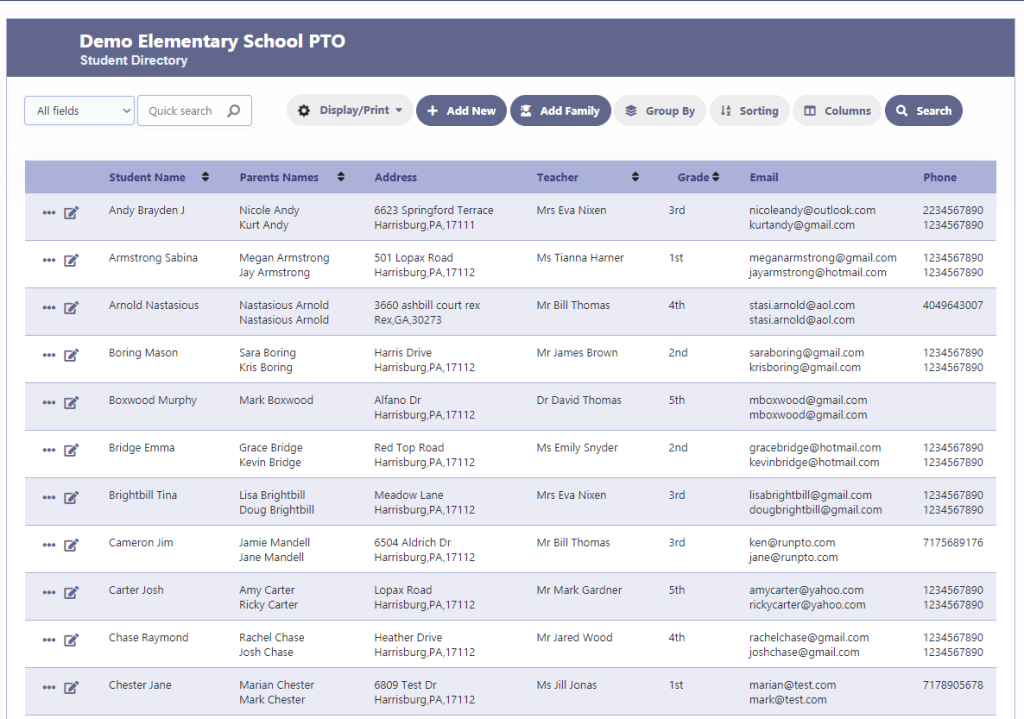
To add a new student or modify existing student records, click on the “Add New” button or the pencil icon.
Please note that the pencil icon will only be visible to users with appropriate editing privileges, while users with view-only access will not have access to modify student records.

Adding Family Information
By clicking on the “Add Family” option, you will be directed to the following screen:
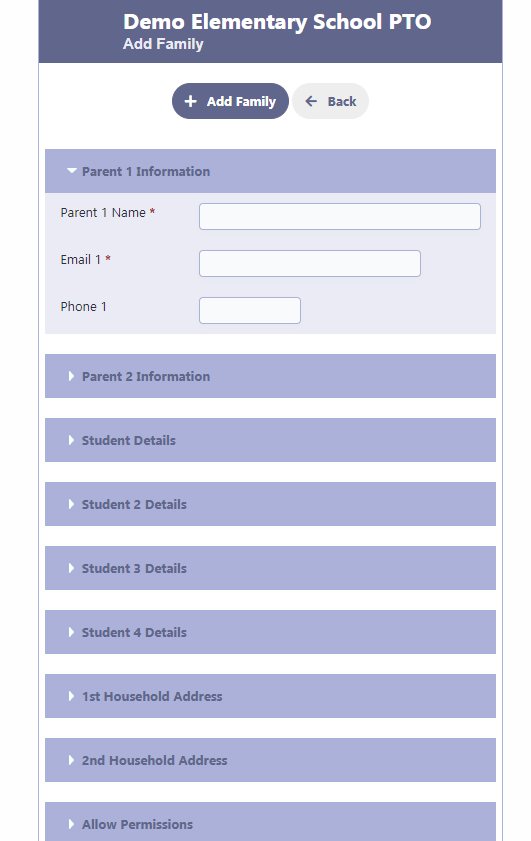
Once you have filled in all the relevant details for the student, click on the “Save” button to save the information. If you have more students to add, you can click on “Add New” to continue adding additional student records.
Exporting Student Data
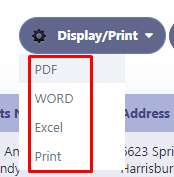
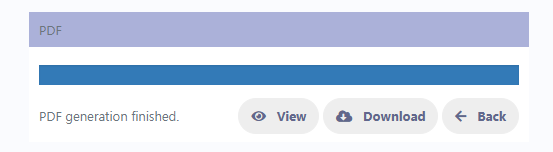
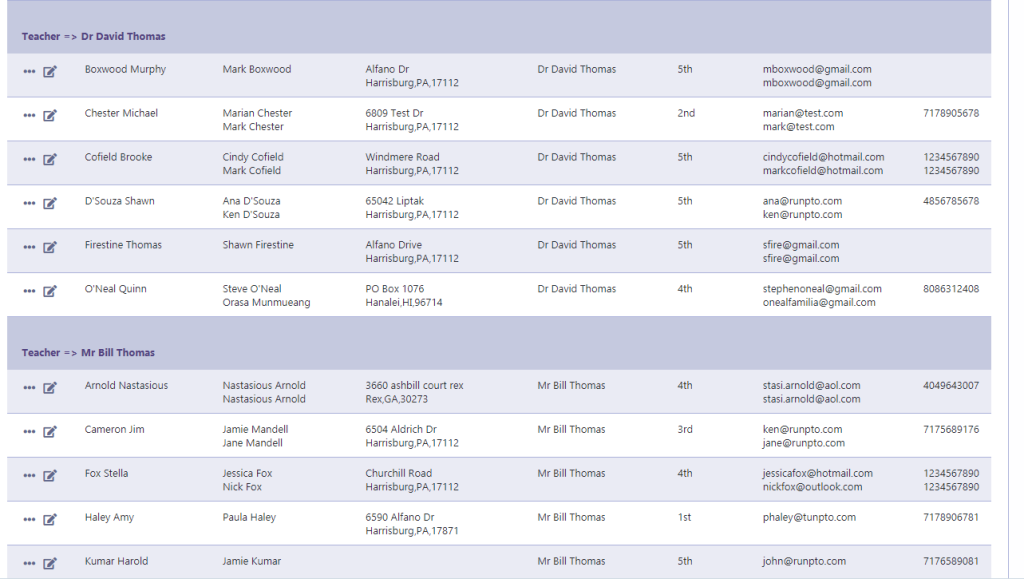
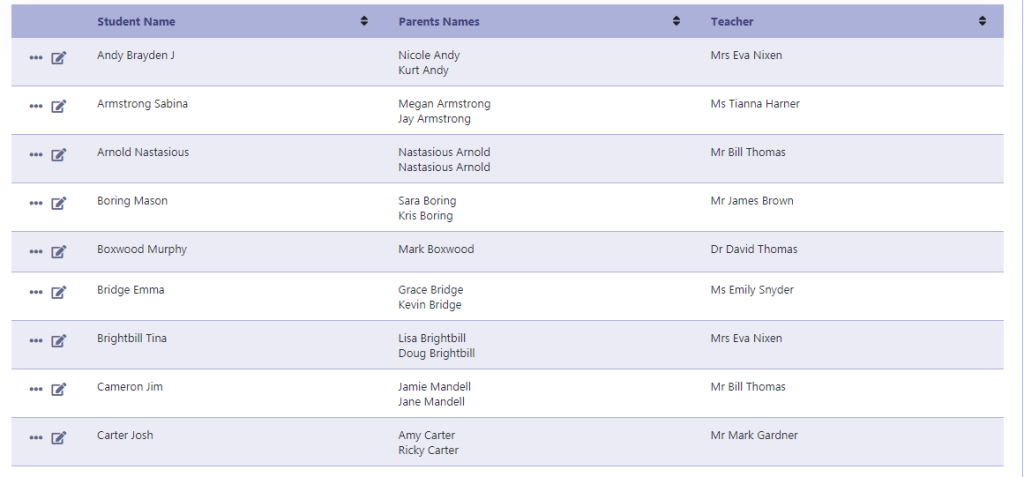
To export student data, simply click on the “Display/Print” option on the grid. This will allow you to export the data to various formats such as PDF, Word, Excel, or for printing purposes.

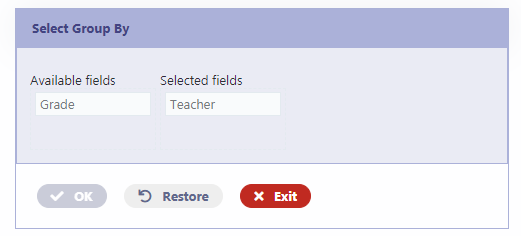
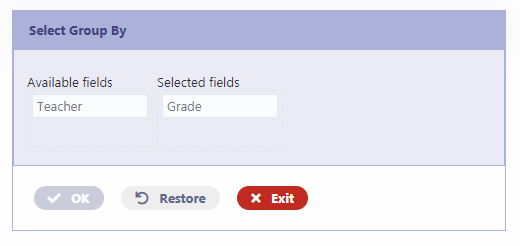
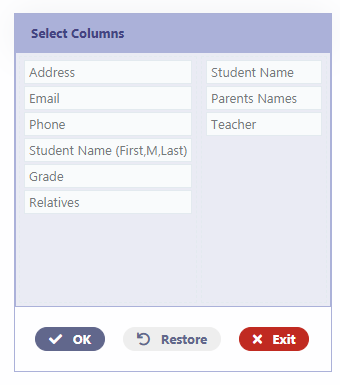
In addition to the “Display/Print” option, you have access to several other features in the Student Directory. You can utilize the Sorting option to arrange the data in a desired order. The Columns option allows you to choose which specific columns to display and include in the print output. Furthermore, you can group the directory based on Grade or Teachers using the Group By option. These additional functionalities provide flexibility and customization to meet your specific needs.
Sorting

Group By

Column Selection for Display
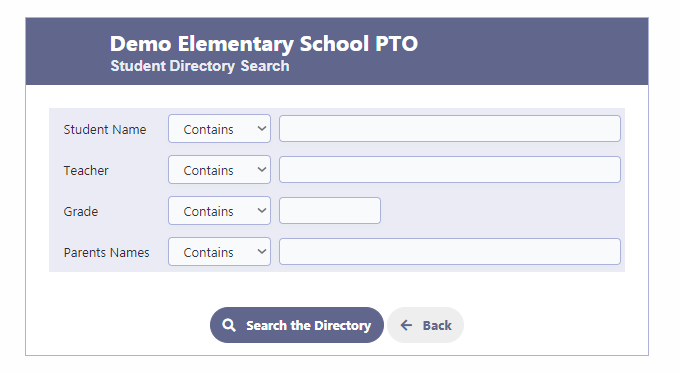
Advanced Search
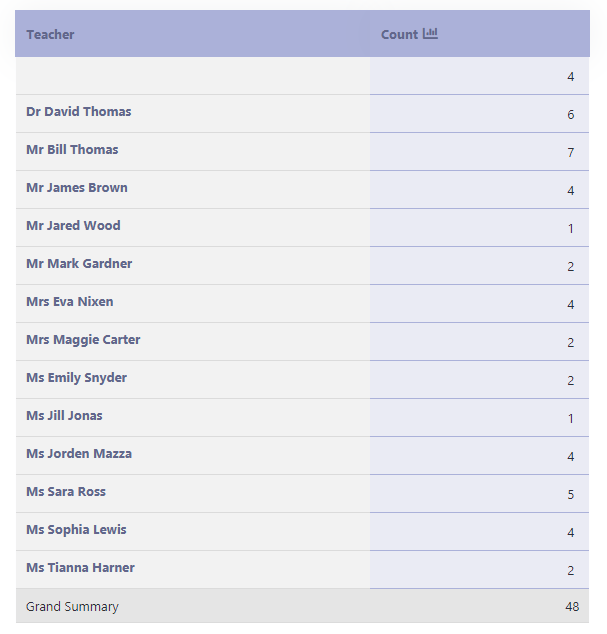
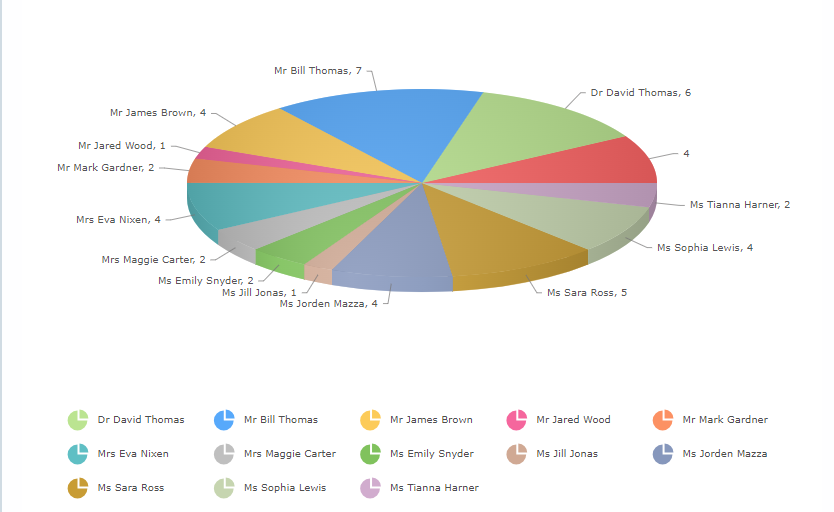
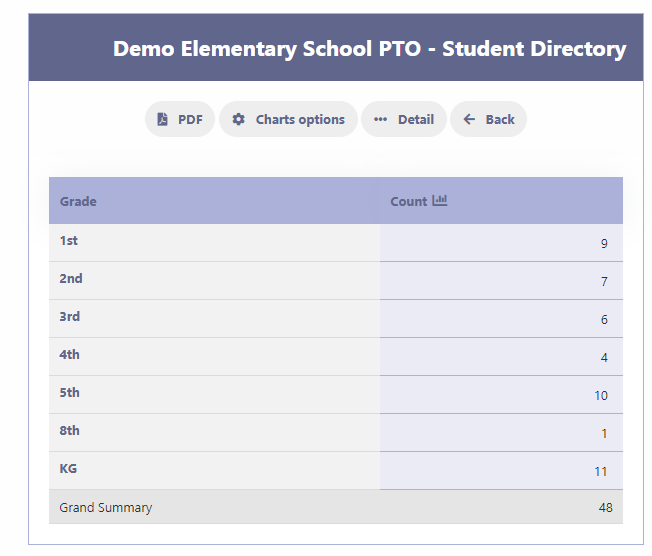
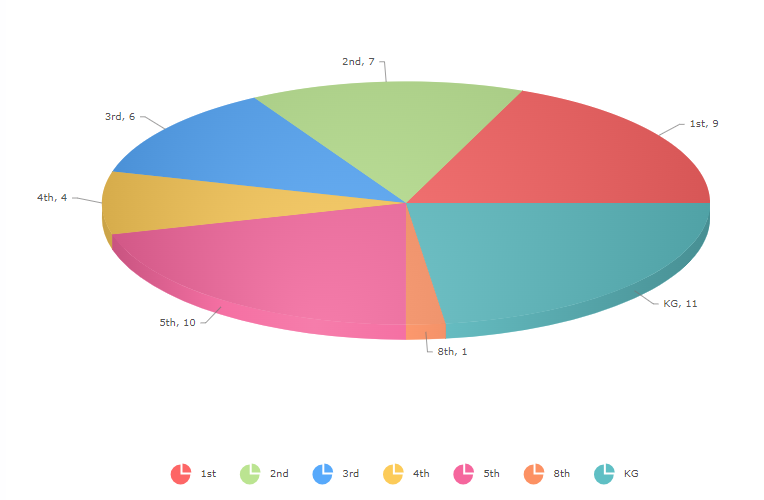
Summaries & Graphs
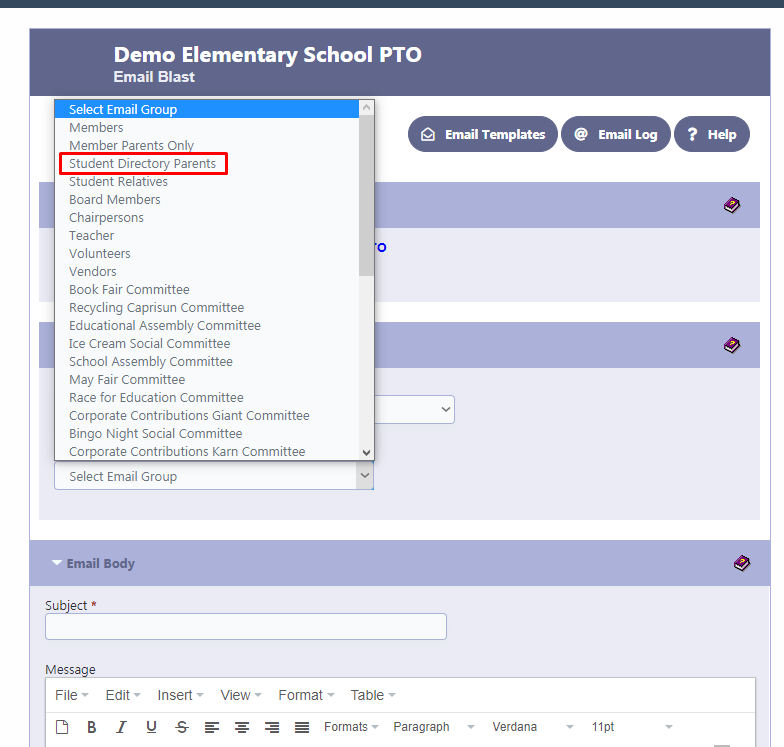
Email Blast Group
Once you have populated the Student Directory, you will find the “Student Directory Parents” group in the Email Blast feature. This group allows you to conveniently send emails to the parents listed in the directory. With this functionality, you can easily communicate with the parents and keep them informed about important updates, events, and announcements.