Create Users
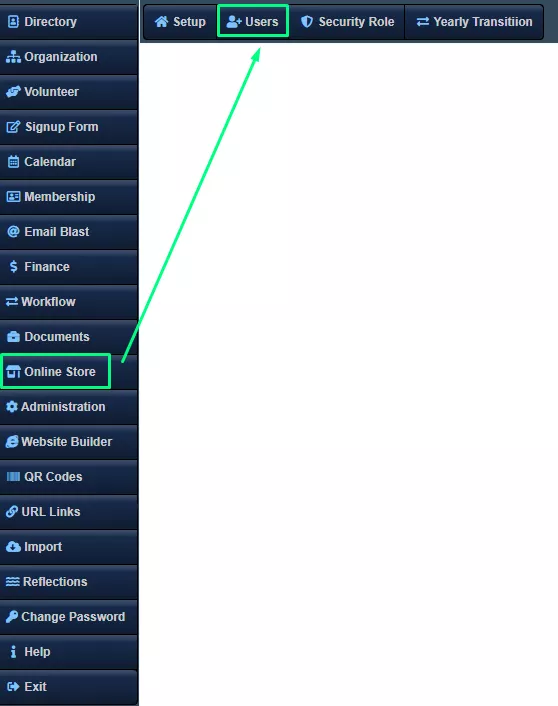
To create users with various privileges, click on Administration and then select Users.
Creating Users
After you’ve compiled a list of volunteers who will be taking on various responsibilities in RunPTO, you can proceed to create the relevant users. There is no limit to the number of users you can set up in RunPTO. Additionally, you can have multiple administrators.
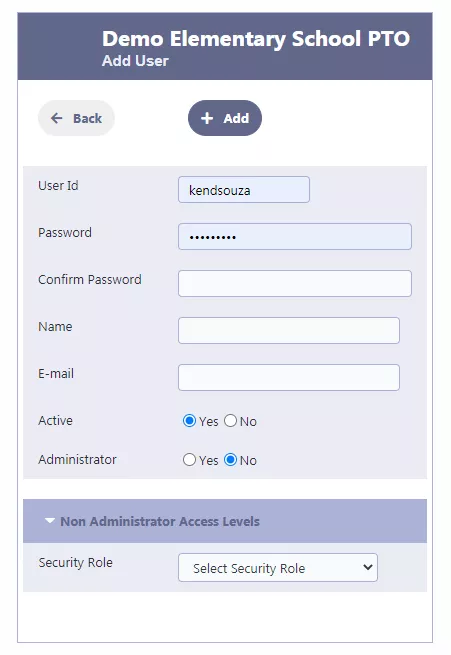
To create a new user, select the “Add New” option. Then, input the desired username, password, name, and email for the user. Set Active to Yes to activate the user account or No to deactivate the user account. If you want the user to have full access to RunPTO, designate them as an administrator. If you want to limit the user’s privileges, assign them a role with restricted permissions that you previously created in the “Create Security Roles” section.
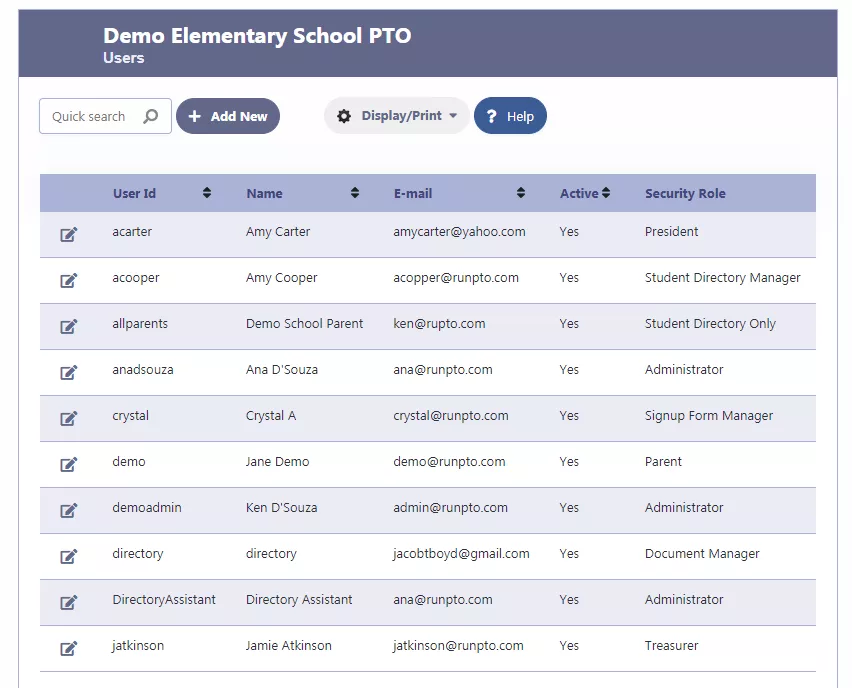
Assign the appropriate volunteer to each committee by assigning the relevant role to each volunteer.
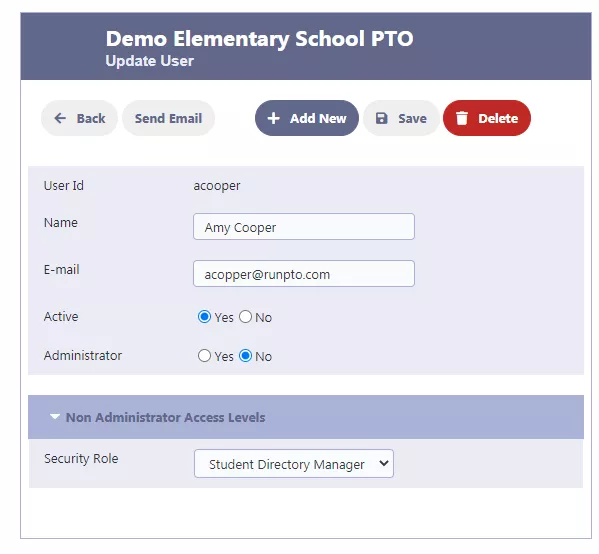
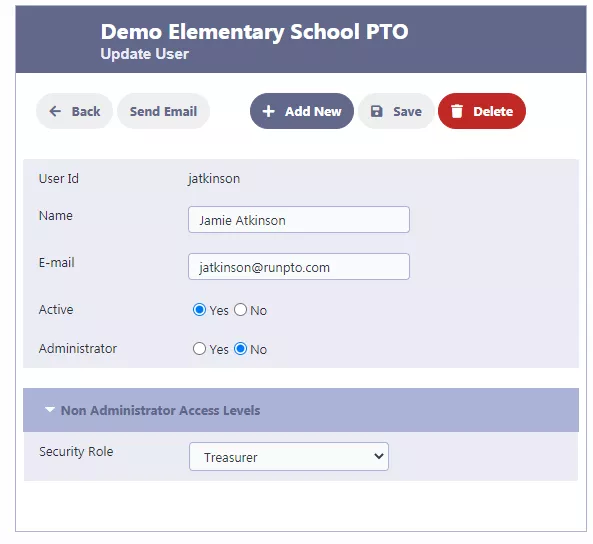
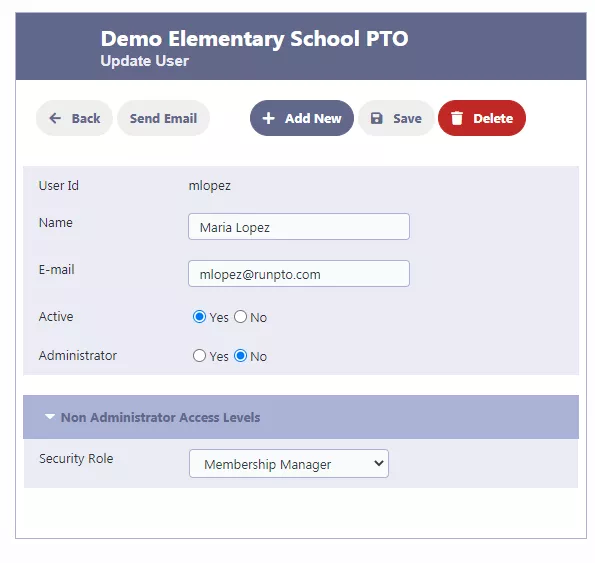
For example, assign Amy Cooper the role of Student Directory Administrator, Jamie Atkinson the role of Treasurer, and Maria Lopez the role of Membership Administrator.
Below is Amy Cooper set up as Student Directory Manager
Below is Jamie Atkinson set up as a Treasurer
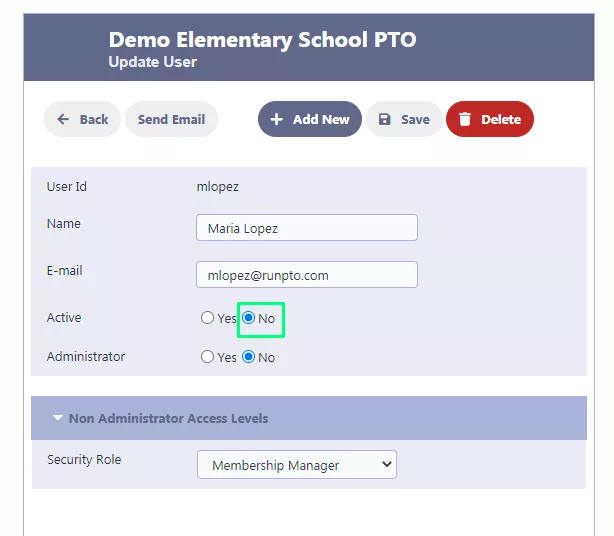
Below is Maria Lopez set up as a Membership Administrator
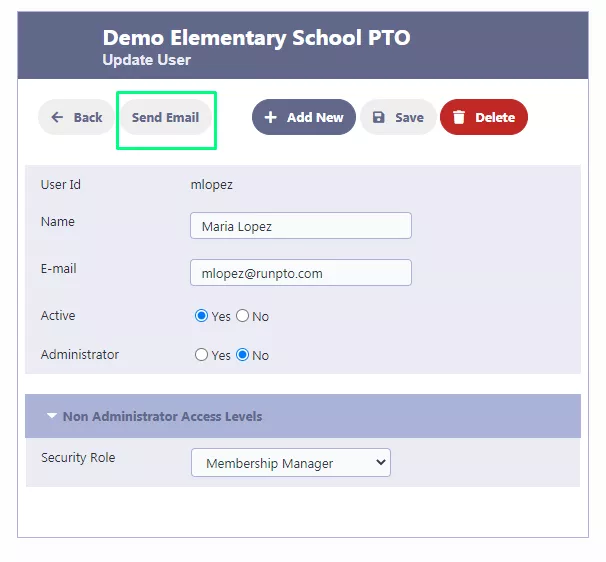
Notifying New Users of Created Login Information via Email
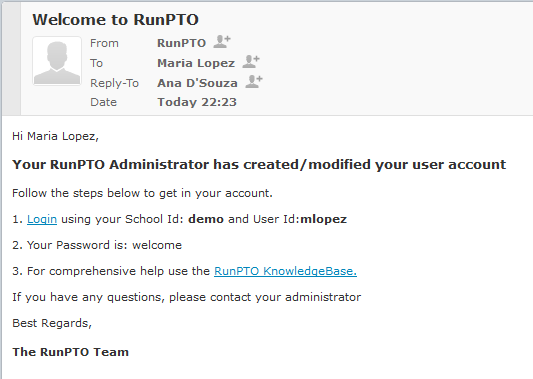
After creating a new user, you can send an email to remind them of their newly created user account. This email will include their User ID and password, and the user can use the “Change Password” feature once they have logged in to update their password.
Example of an Email Received by a User from an Administrator
Deactivating or Deleting Users in RunPTO
To prevent a user from accessing RunPTO, you can either deactivate their account or delete it completely.