Create Website with Neptune template
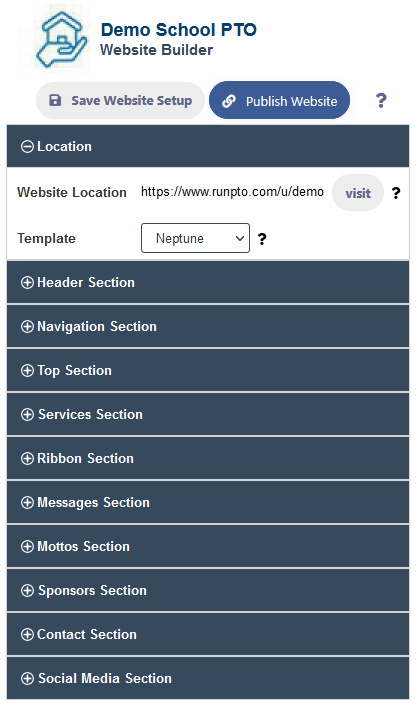
Click on the Website Builder.
Location
The Website Location columns shows the location where your website is hosted. A domain name can be pointed to this location.
Your default website template will be Neptune. Always save the website before you publish it.
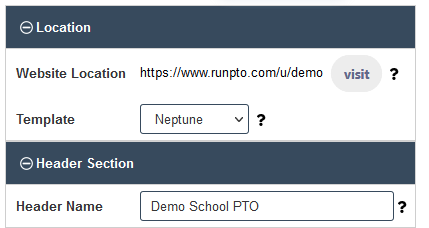
Header Section
Enter your organization name in the Header Name column. It will be displayed on the website on the top navigation bar.
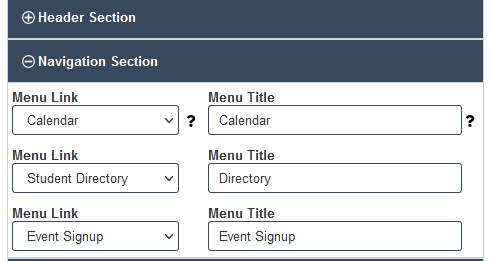
Navigation Section
You can add upto 3 Menu links from dropdown list of Menu Links.
Add a title for the Menu Link.
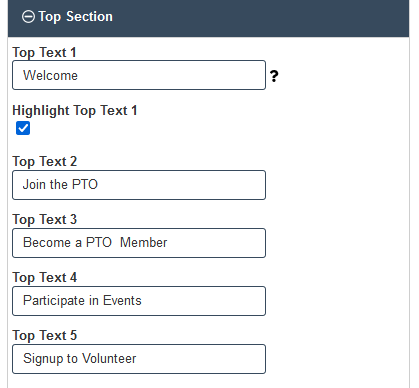
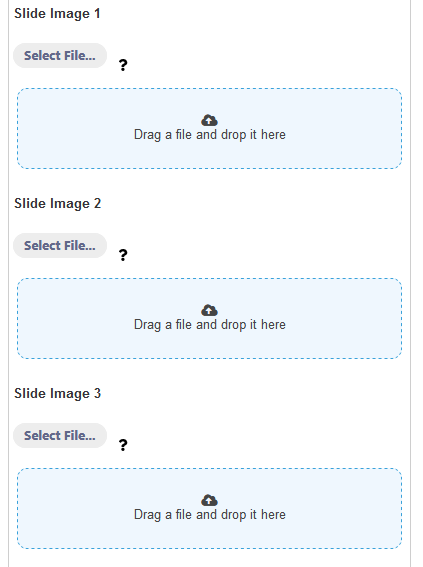
Top Section
Add text to the top left corner of your website
Add images which will be used as image sliders to the top right corner of your website. If you do not add the images ,the default slider images will be used
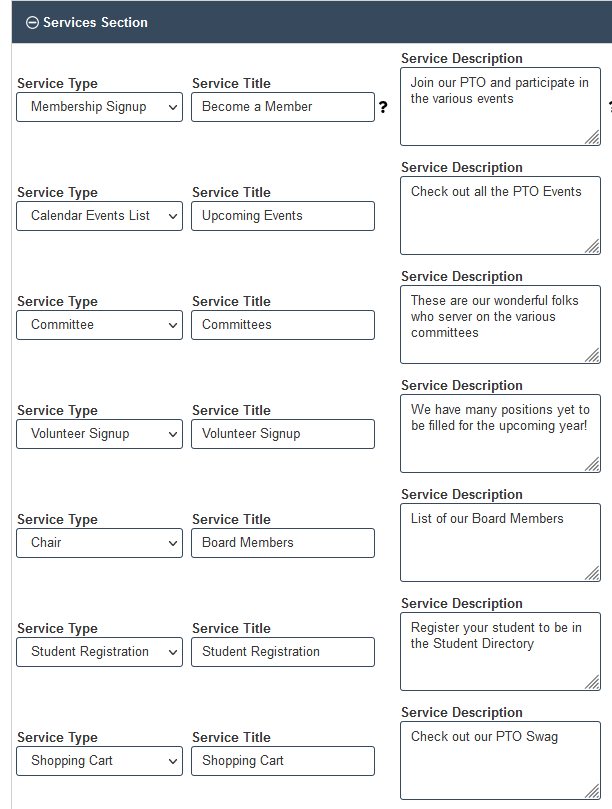
Services Section
Add up to 9 service types. Enter the title and description which you would like to be displayed for the service on the website.
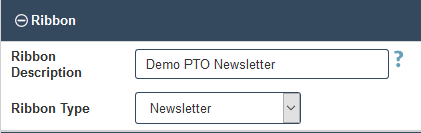
Ribbon Section
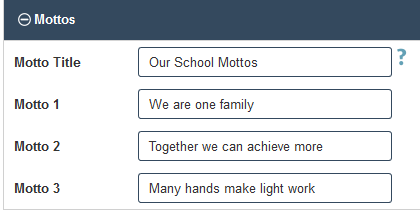
Mottos Section
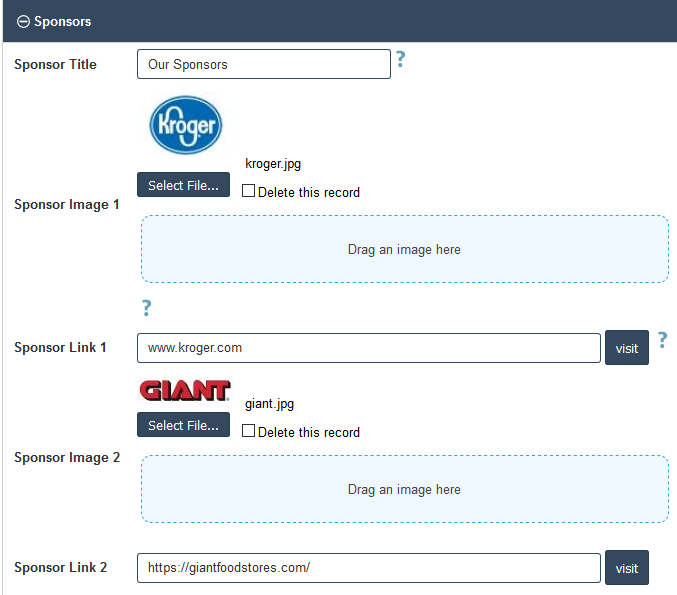
Sponsors Section
You can add upto 3 sponsors here with a image and their URL link. You may use this section for other purposes
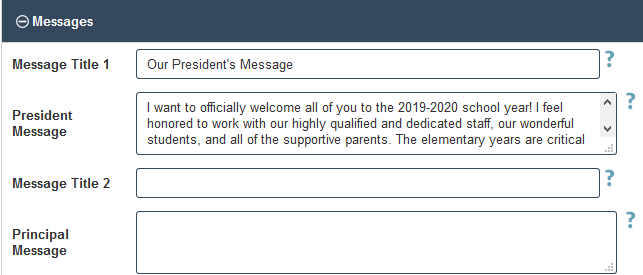
Messages Section
You can add upto 2 message boxes.
e.g 1 can be for the President’s Message, the other can be for the Principal’s message
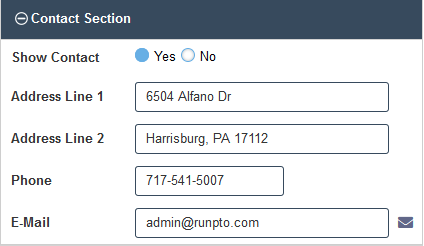
Contact Section
The Address Line 1 , Address Line 2 and Contact Email will be displayed in the bottom bar. The Contact Email will be used on the Contact Form to receive emails
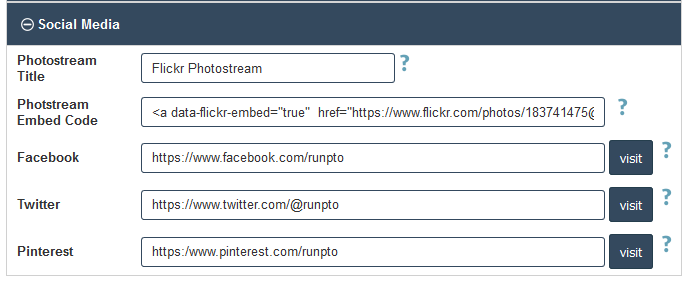
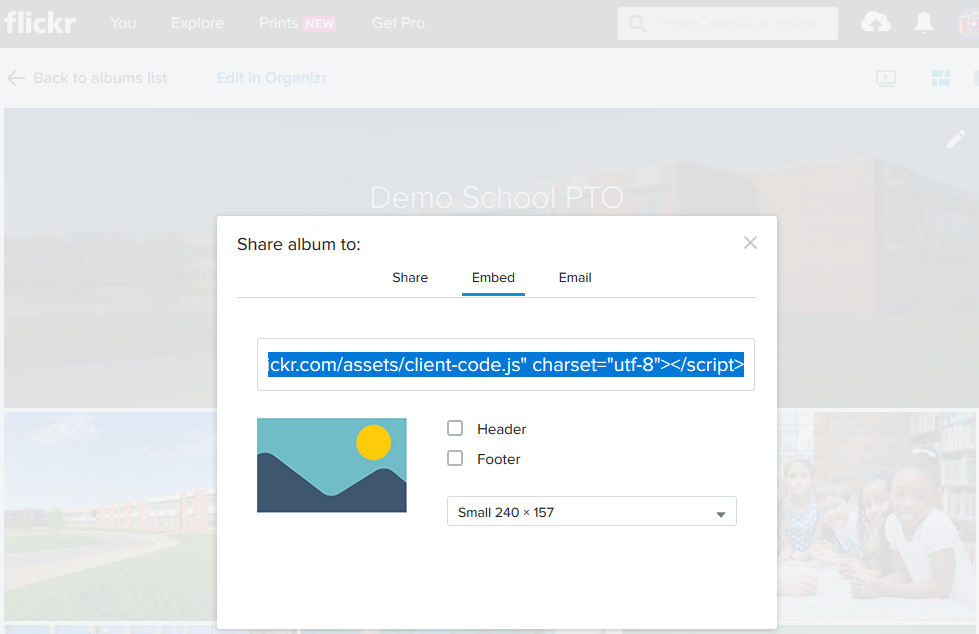
Social Media Section
Add a Photo Gallery from Flickr or other sites.
Add the URL for Facebook, Twitter, Pinterest, Instagram if necessary.
Save the Website Setup and then Publish Your Website

You will be redirected to the website which is created instantaneously.
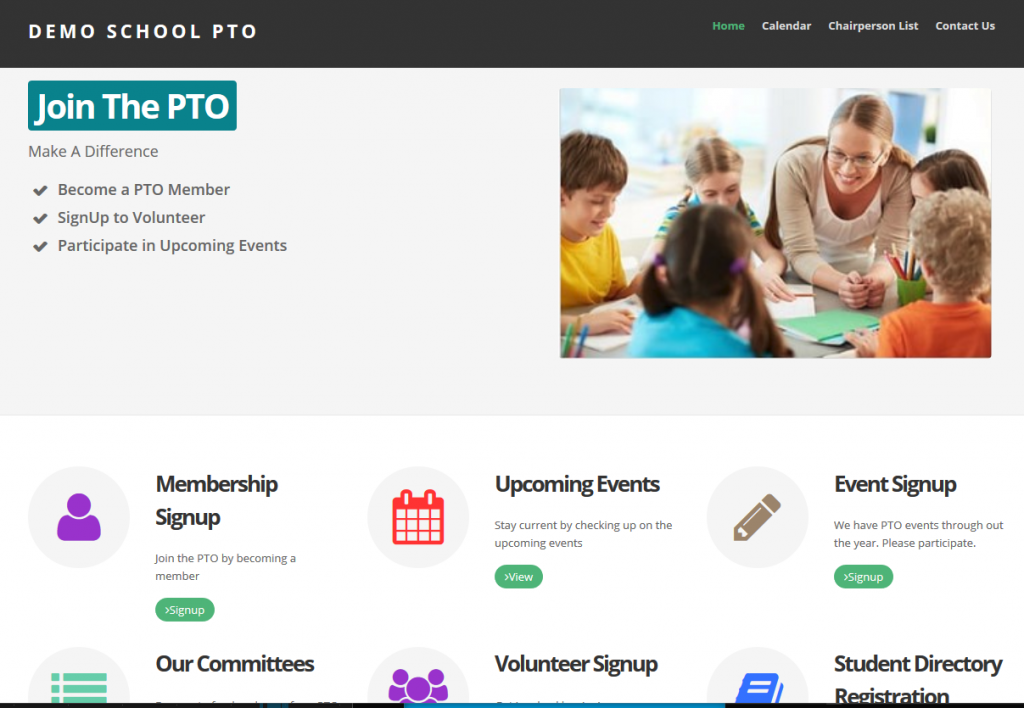
This will be a responsive website which will work on Desktops, Mobile or Tablets.