Create your Online Store (Modern)
In today’s digital age, creating an online store for your school or organization has become more essential than ever. With RunPTO’s user-friendly features and efficient setup process, establishing a modern online store is both straightforward and effective. In this comprehensive knowledgebase article, we will walk you through the step-by-step process of creating your Modern Online Store in RunPTO.
Step 1: Online Store Setup
- Navigate to Administration/Setup: To begin setting up your online store, log in to your RunPTO account and go to the Administration/Setup section.
- Online Store Setup: Within Administration/Setup, locate the “Online Store Setup” option. Here, you’ll configure various settings and options for your online store, including its appearance, policies, and more.

Store Type
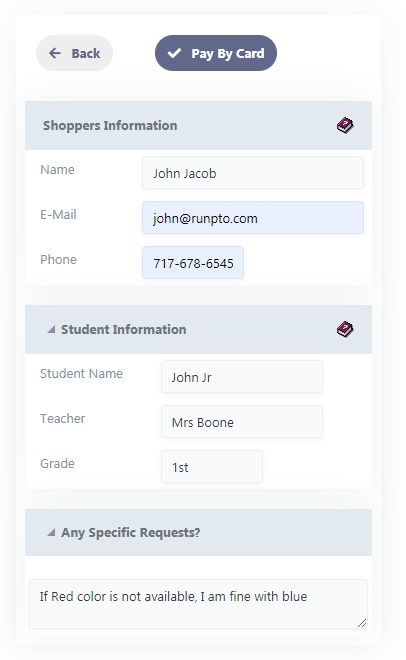
The Legacy store template is an older version, whereas the Modern template is a more recent one. In the Legacy template, customer information is collected at the beginning of the shopping process, while in the Modern template, it is collected at the end.
Store Options
- The Student column on the Customers Information Page can be hidden using the Hide Student option.
- Similarly, the grade column can be hidden by selecting the Hide Grade option,
- and the teacher column can be hidden using the Hide Teacher option.
- If one wishes to hide the address column on the Customers Information Page, they can use the Hide Address Columns option.
- Moreover, the option to display optional Phone or a Custom Column is at your disposal.
- Add a title to the custom column if used.
- Should the need arise, you can also make the Student, Teacher, or Grade fields mandatory as required.
- Feel free to tailor the Customer Information page display according to your preferences and necessities.
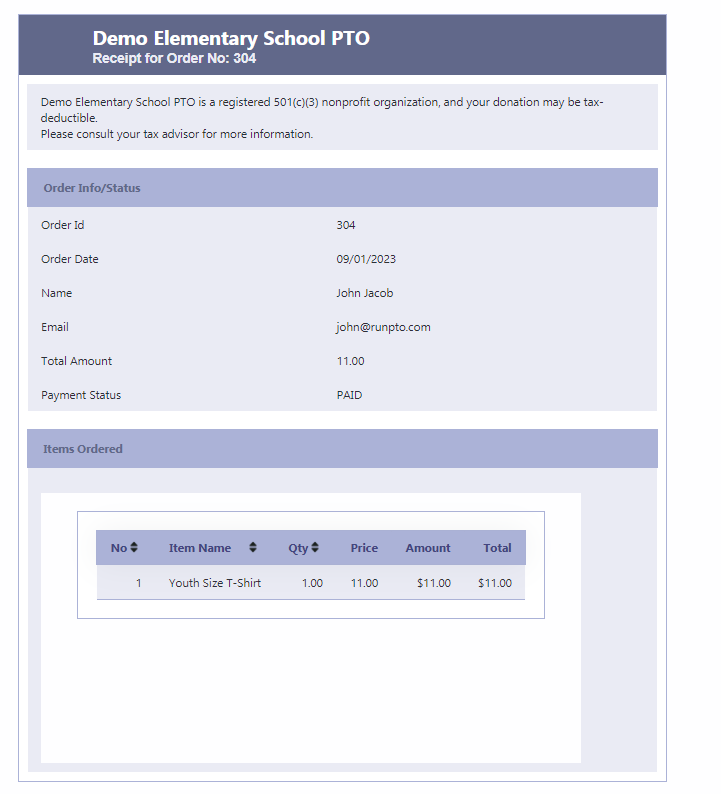
- Additionally, you have the option to incorporate the provided Receipt text into the Customer Receipt.
Online Store Coordinator Email
Each time a sale is made on the Online Store, a notification email is sent to the email entered here.
This can be kept blank if no notification email is required.
Allow Charges/Discounts
Activate this option to enable additional charges or discounts in the online store.
Configure additional charges or discounts that will be applied during checkout in the Charges/Discounts section below.
Custom Text on Receipt
Please provide the customized receipt text in the space provided below. An example of such text could be as follows:
“Demo Elementary School PTO is a registered 501(c)(3) nonprofit organization, and your donation may be tax-deductible. Please consult your tax advisor. for more information.“
Charges/Discounts
The Charges/Discounts column allows you to select from a list of predefined additional costs or deductions that have been configured by clicking on the Edit button. These charges or discounts can be applied to the total order amount in the online store. Click here for more details on Charges/Discounts
Online Store Coordinator Email
Each time a sale is made on the Online Store, a notification email is sent to the email entered here.
This can be kept blank if no notification email is required.
Step 2: Payment Gateway Setup
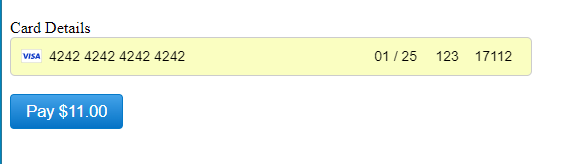
- Payment Gateway Configuration: One of the crucial steps in creating your online store is setting up the payment gateway. RunPTO offers integration with popular payment gateways like Stripe and Paypal. Configure your preferred payment gateway to enable secure and convenient payment processing.
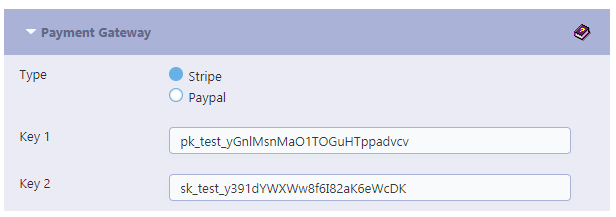
To initiate the process of opening a Stripe Connect account, please click here and follow the provided instructions.
To initiate the process of opening a Paypal account, please click here and follow the provided instructions.
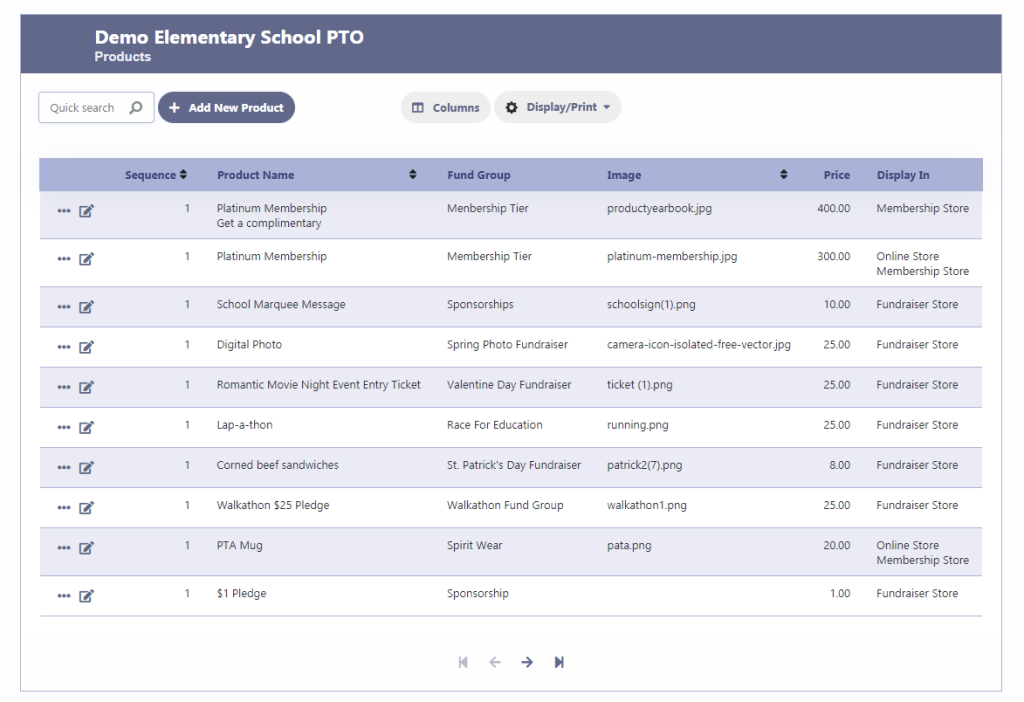
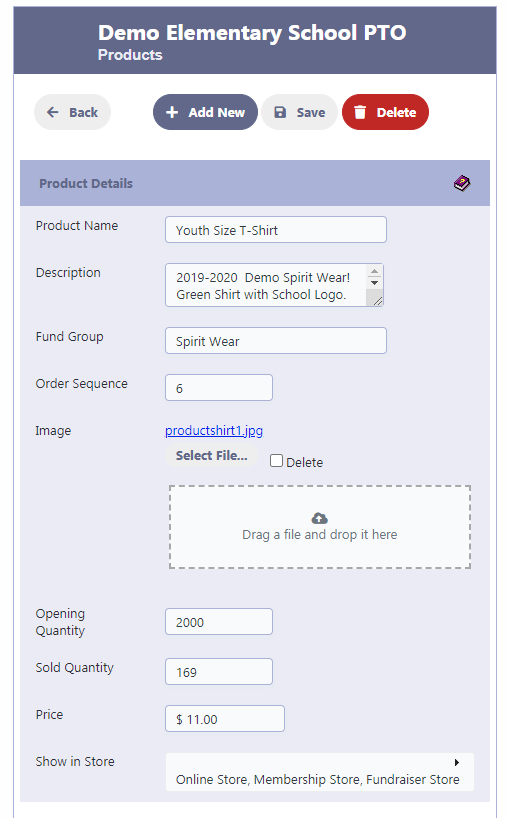
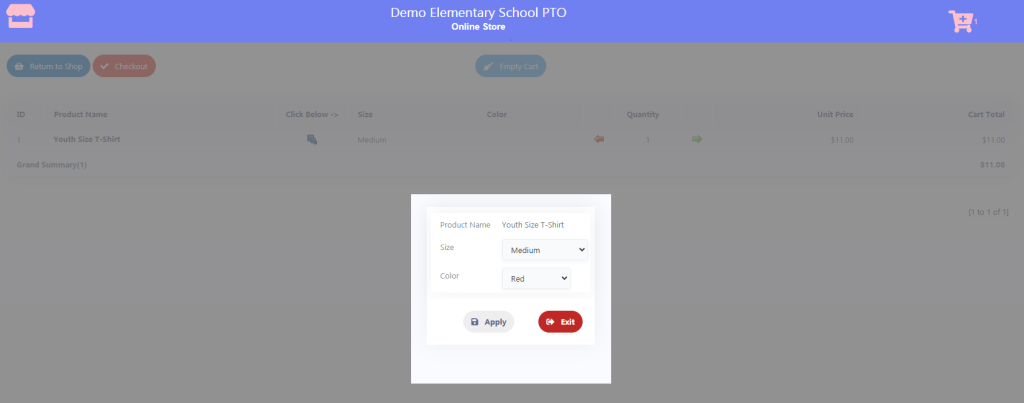
Step 3: Adding Products to Your Online Store
- Product Management: In the “Products” module, you’ll add and manage the items you want to sell in your online store. Each product should have detailed descriptions, images, prices, and any other relevant information.

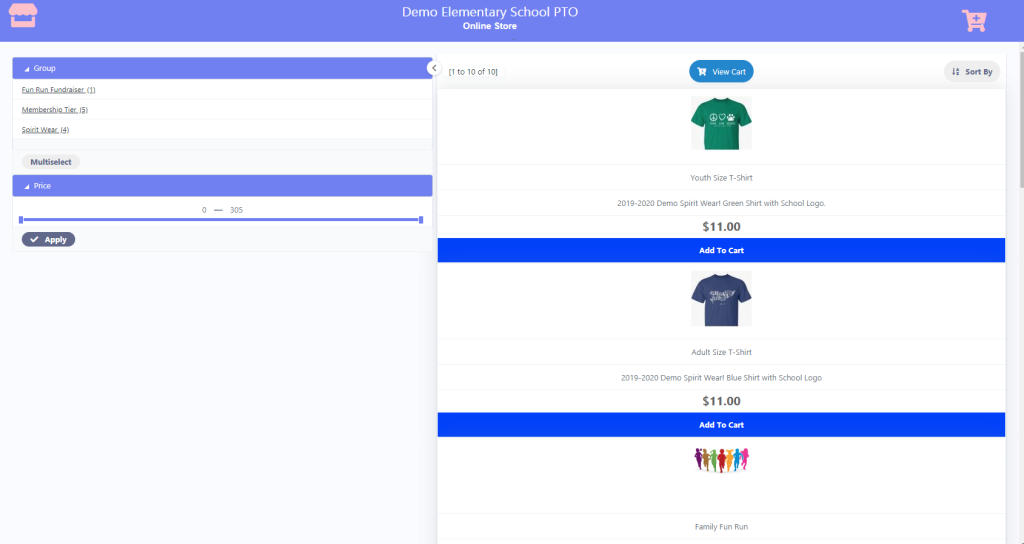
Step 4: Launching Your Online Store
- Preview Your Online Store: After configuring your store settings, adding products, and setting up payment processing, it’s time to preview your online store. Ensure that everything looks and functions as intended before making it accessible to your community.
- Stripe and Paypal Payment Processing: As users browse your online store and make purchases, they can conveniently use Stripe or Paypal for payment processing. These secure and widely trusted payment gateways ensure smooth transactions for your customers.


Step 5: Monitoring and Managing Orders
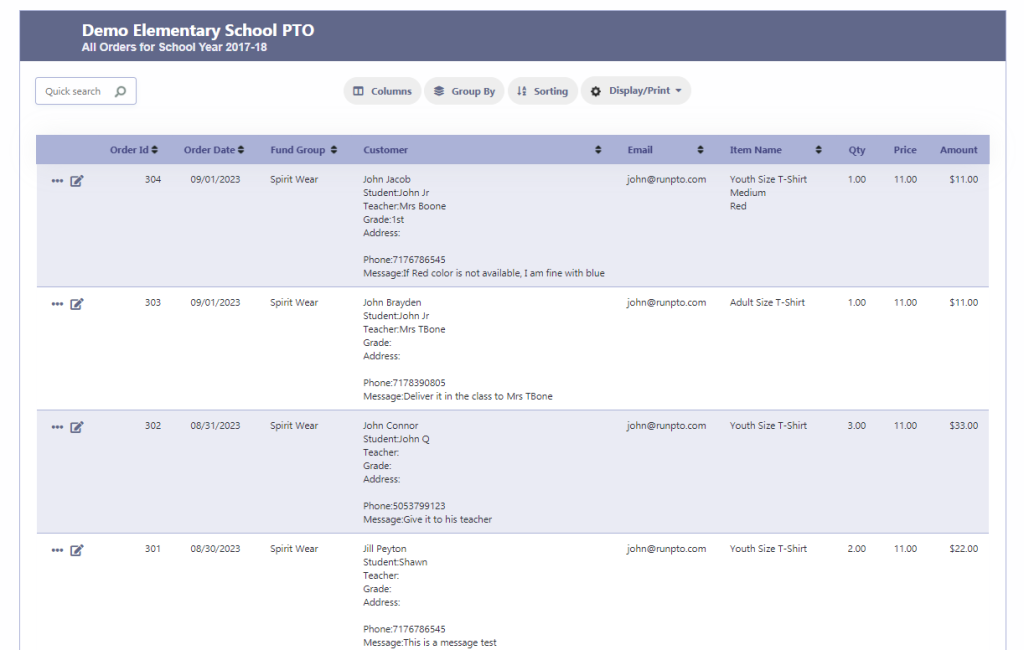
- All Orders Report: RunPTO provides a comprehensive “All Orders” report that allows you to track and manage the orders placed through your online store. This report provides valuable insights into sales, order details, and customer information.
By following these steps, you’ll have successfully created a modern online store using RunPTO. Your organization can now offer a convenient and efficient way for members and supporters to purchase products and contribute to your cause. Whether it’s selling merchandise, event tickets, or fundraising items, your RunPTO-powered online store is a valuable addition to your organization’s resources.